26 April, 2010
Orange Sponge Cake
We never say "sponge cake" anymore, well people I know don't. Every cake has to have a flavor, description, and plenty of thick icing; but what happened to simplicity? Perhaps we as Americans have lost our appreciation for this basic cake amongst the corn-syruped and chocolate dipped sweets that modern chemistry has afforded us, perhaps we have been over sugared?
Within England it's referred to as "sponge" and is common as a tea snack, a popular choice is Victoria Sponge, a sponge cake with jam layered in the middle. Sponge cake is at it's simplest a fluffy cake which can be eaten alone, or due to it's appropriate absorbency, is perfect accompanied with creme or fruit. The fluffiness of this cake comes from the presence of beaten egg whites within the batter; the cake maintains it's body despite the low proportion of flour by having less fats to soften its structure; this cake uses no yeast, and is one of the earliest non-yeasted cakes.Adapted from "Mastering the Art of French Cooking" I present: Gateau a l'Orange Procedure:
What you will need:
- Spring form pan or small greased 9 inch pan.
- whisk or electric beaters
- 2 mixing bowls
- a way to grate an orange
- 1/2 cup sugar
- 4 eggs separated
- zest of one orange
- juice of 3 oranges
- pinch-o-sal
- 3/4 cup flour
- 1 tbsp of extra sugar
Procedure: Whisk 1/2 cup of sugar with eggs yolks until mixture thickens to a slow stream when falling from the whisk. Add zest, juice, and salt to the mixture and beat until foamy. Slowly beat in the flour to avoid lumps.
In a separate bowl whisk sugar, salt, and egg whites together until still peaks are formed.
This will take awhile and probably hurt your forearm.Fold the egg-white mixture into the batter one forth at a time using a wooden spoon or another flattened implement. Folding the delicate egg-whites into the heavier batter helps the egg-whites maintain their structure.
Folding is achieved by sweeping the bottom of the batter to the top slowly until mixture is incorporated.
Pour mixture into greased pan and bake at 350 for 20 minutes, but start checking at 15. The cake should be puffy and lightly browned.
The book says to cook for 30-35 minutes, mine baked for 18 and burned slightly. Perhaps my oven is too hot, but I would suggest vigilance.
Orange Butter Glaze
What you will need:
- whisk
- saucepan
- basin of cold water
Ingredients:
- 1/2 cup butter
- 1 1/2 cup sugar
- 2 eggs
- 2 egg yolks
- zest of one orange
- juice of 2 oranges
Beat all ingredients together in saucepan before heating. Once everything is incorporated heat on low or over a double boiler until mixture thickens to the consistency of honey. The mixture is at the optimum temperature when it is too hot for your finger tip.
Heating slowly prevents the eggs from scrambling.
Once temperature has been reached remove from heat and place the bottom of the saucepan in the basin of cold water. Continue to whisk for 4-5 minutes until the mixture thickens.
Cut the cake in half horizontally and pour glaze on the exposed part of both halves. Allow to set and reassemble. You can also take a small layer off of the top and pour the glaze over the top.
16 April, 2010
Tarte Au Citron et Aux Amandes (Lemon Almond Tart)
Naturalists argue that there is no choice; we all make decisions based on previous experiences culminated with the stimuli present at any given time. The human brain is essentially a function, input of stimulus goes through the function of previous experience and the output is action, which can be predetermined and is inescapable. One could suggest this is why most of the decisions we make on a daily basis pass without any notice at all; there really was no choice to begin with. Therefor I would suggest it is a rare moment when we are fully aware whilst making a decision of it's pros and cons and how the results will in turn be effected; today I had one of those moments.
I had planned to make a dessert from Julia Child's "Mastering the Art of French Cooking"; after consulting Alin, I had a plan to make the Tarte Au Citron et Aux Amandes. Now here is where the big choice comes in; to buy or not to buy the tart shell? Well.. I've made pie crust before and it's awful; I still haven't gotten around to buying/stealing a rolling pin and they always end up so ugly. So as I strolled the aisles of Market Street, I pictured the pre-made tart shells, I even knew exactly where they were, and yet I resisted. Am I mouse or am I woman? What is a this foodblog if not to be a place where I highlight my ugly yet homemade tart shells? I made a choice, authenticity over aesthetics.
So I present you with What You SHOULD Know's Lemon Almond Tart:

This recipe is broken into 3 parts:
1. Tart Shell
2. Candied Lemon Peel/Glaze
3. Tart Filling
Part 1: Sugar Crust Tart Shell
This part of the recipe takes awhile, and needs to chill in the refrigerator for at least two hours.
- 1 1/3 cup flour
- 3 tablespoons sugar
- 1/4 teaspoon baking powder
- 4 tablespoons butter
- 2 tablespoons shortening
- 1 beaten egg (with teaspoon of water)
- 1/2 teaspoon vanilla extract
- wax paper
Mix the flour, sugar, and fats together in a large bowl. Break the butter down amongst the dry ingredients into small crumbles. Add in egg (whisked with water) and vanilla extract and blend quickly, kneading the dough into a ball. Divide the ball into four pieces, and on a board covered in wax paper place 1/4 of the dough and push forward with the palm of your hand, making a 6" smear. Gather the smeared dough and repeat 4 times. Repeat with each fourth of dough before recombining them to one ball, wrapping in wax paper and leaving in the refrigerator to chill. This practice of smearing is to best combine the fats at flour.
After waiting at least two hours roll out chilled pie crust quickly (or it'll warm up), and place in a buttered false bottomed pan and roll edges down.
You can also use just a plain buttered pie plate, but removal would be harder, but if you're fine with keeping it in the pie plate, who cares?Poke bottom of tart crust with a fork 7-10 times, so that it doesn't puff in the oven. Bake tart at 325F until baked but not brown.
Part 2: Candied Lemon Peel/ Glaze
- 2 lemons
- a julianne peeler or sharp knife
Peel the lemons and cut the peel into strips of 1/8th inch or smaller.
Leave the white of the lemon peel intact as it's bitter and will be crucial in maintaining enough structure to later squeeze the lemons.In a small saucepan boil the lemon peels for 12 minutes. Afterwards drain thoroughly.
- 1 1/2 cup sugar
- 2/3 cup water
- 1 tsp vanilla extract
- 1 tsp lavender
- boiled lemon peel
Mix sugar, water, lavender, and drained lemon peel in a small saucepan and boil. Continue to boil sugar mixture until it reaches 230F or drips off the spoon in a constant stream like honey. Add vanilla extract and remove from heat, let sit for 30 minutes
Part 3: Tart Filling
- 2 eggs
- 1/2 cup sugar
- 3/4 cup almond meal
- 1 tsp almond extract
- lemon zest of 1 lemon
- juice of 3 lemons
Whisk eggs and sugar together for 5 minutes until slightly thickened. Slowly mix in almond meal, almond extract, lemon zest, and lemon juice.
Cover the edges of tart crust in foil so as not to burn the edges...like I did.
Bake in a preheated oven at 325F for approximately 25 minutes until the center is set and lightly browned. My tart didn't brown but it will set up in the middle, trust me, you can tell.
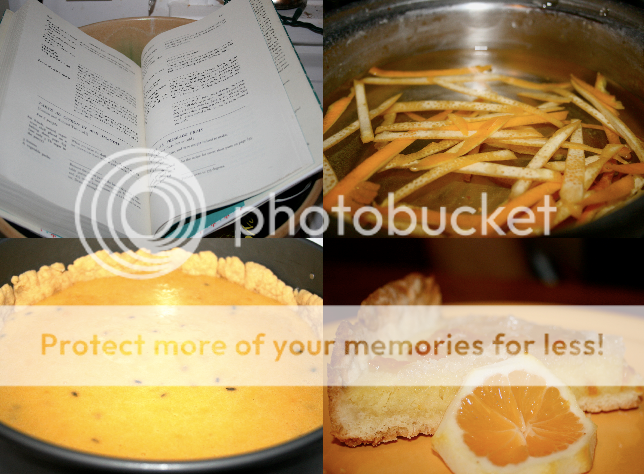
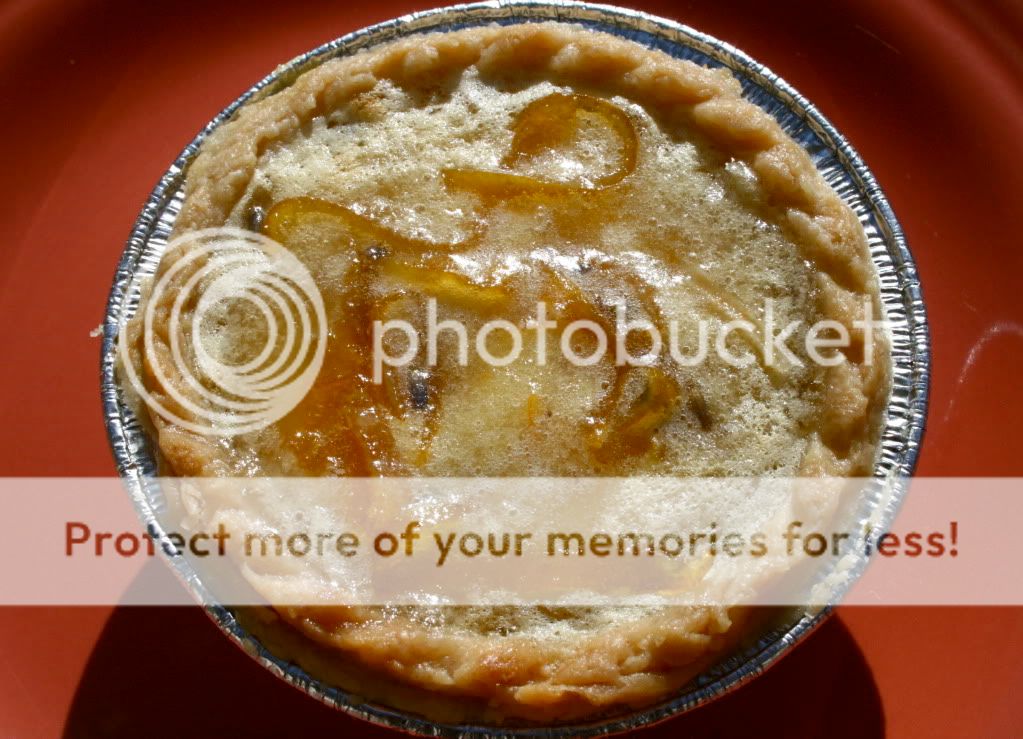
Assembly:
Separate lemon peels from sugar glaze and place around top of tart. Continue to boil remaining sugar glaze until it has thickened to a thick honey consistency.
Do NOT let it boil furiously as the sugar will re-crystalize and become gritty. Bubbles are not your friend.Spoon glaze on top of tart focusing in the middle. Let cool.
Also great as mini-tarts!

14 April, 2010
Gluten-free Cupcakes
I ran across a recipe on Healthy Indulgences that I had to try. I didn't have a lot of the strange chemical ingredients, and I really don't like coconut flour (trust me, you don't either), so I made some substitutions. This cupcake is quite dense and not terribly sweet. I find it's perfect topped with a swipe of Nutella, but if you're really serious about this sugar-free business, then some cool whip I suppose would work just as well.
The Perfect Yellow CupCake, sugar and gluten free
- 15 oz white beans canned or cooked
- 4 eggs
- 5 tablespoons light butter or margarine
- 3/4 cup splenda
- 1 tablespoon vanilla extract
- 1 teaspoon almond extract
- 6 tbsp ground almonds
- 1/2 teaspoon sea salt
- 1/2 teaspoon baking soda
- 1 teaspoon baking powder
- cupcake liners
Before you get started, or even buy that $11 bag of almond meal here is what you should know..
You will need a blender of some sort, a hand blender will do, but this is necessary to de-skin the beans. WARNING: make sure the blender does not smell like anything (ie that potato soup you make that week) because the egg yolks will pick-up the smell.
Rinse and blend beans with eggs and extracts with blender or food processor until no bean pieces remain. Cream butter and Splenda in bowl, slowly adding in salt, baking powder and soda, and ground almonds. Wisk into the butter mixture the egg and bean mixture. Place in cupcake liners at bake at 350 F until golden. Depending on size should make 12-18 cupcakes.
These cupcakes are best small as they are so dense.
Top with no sugar added whipped cream or cool whip.


Makes the cupcakes so moist and yummy, no one would suspect the beans.
Subscribe to:
Posts (Atom)

Festival Food Done Right

